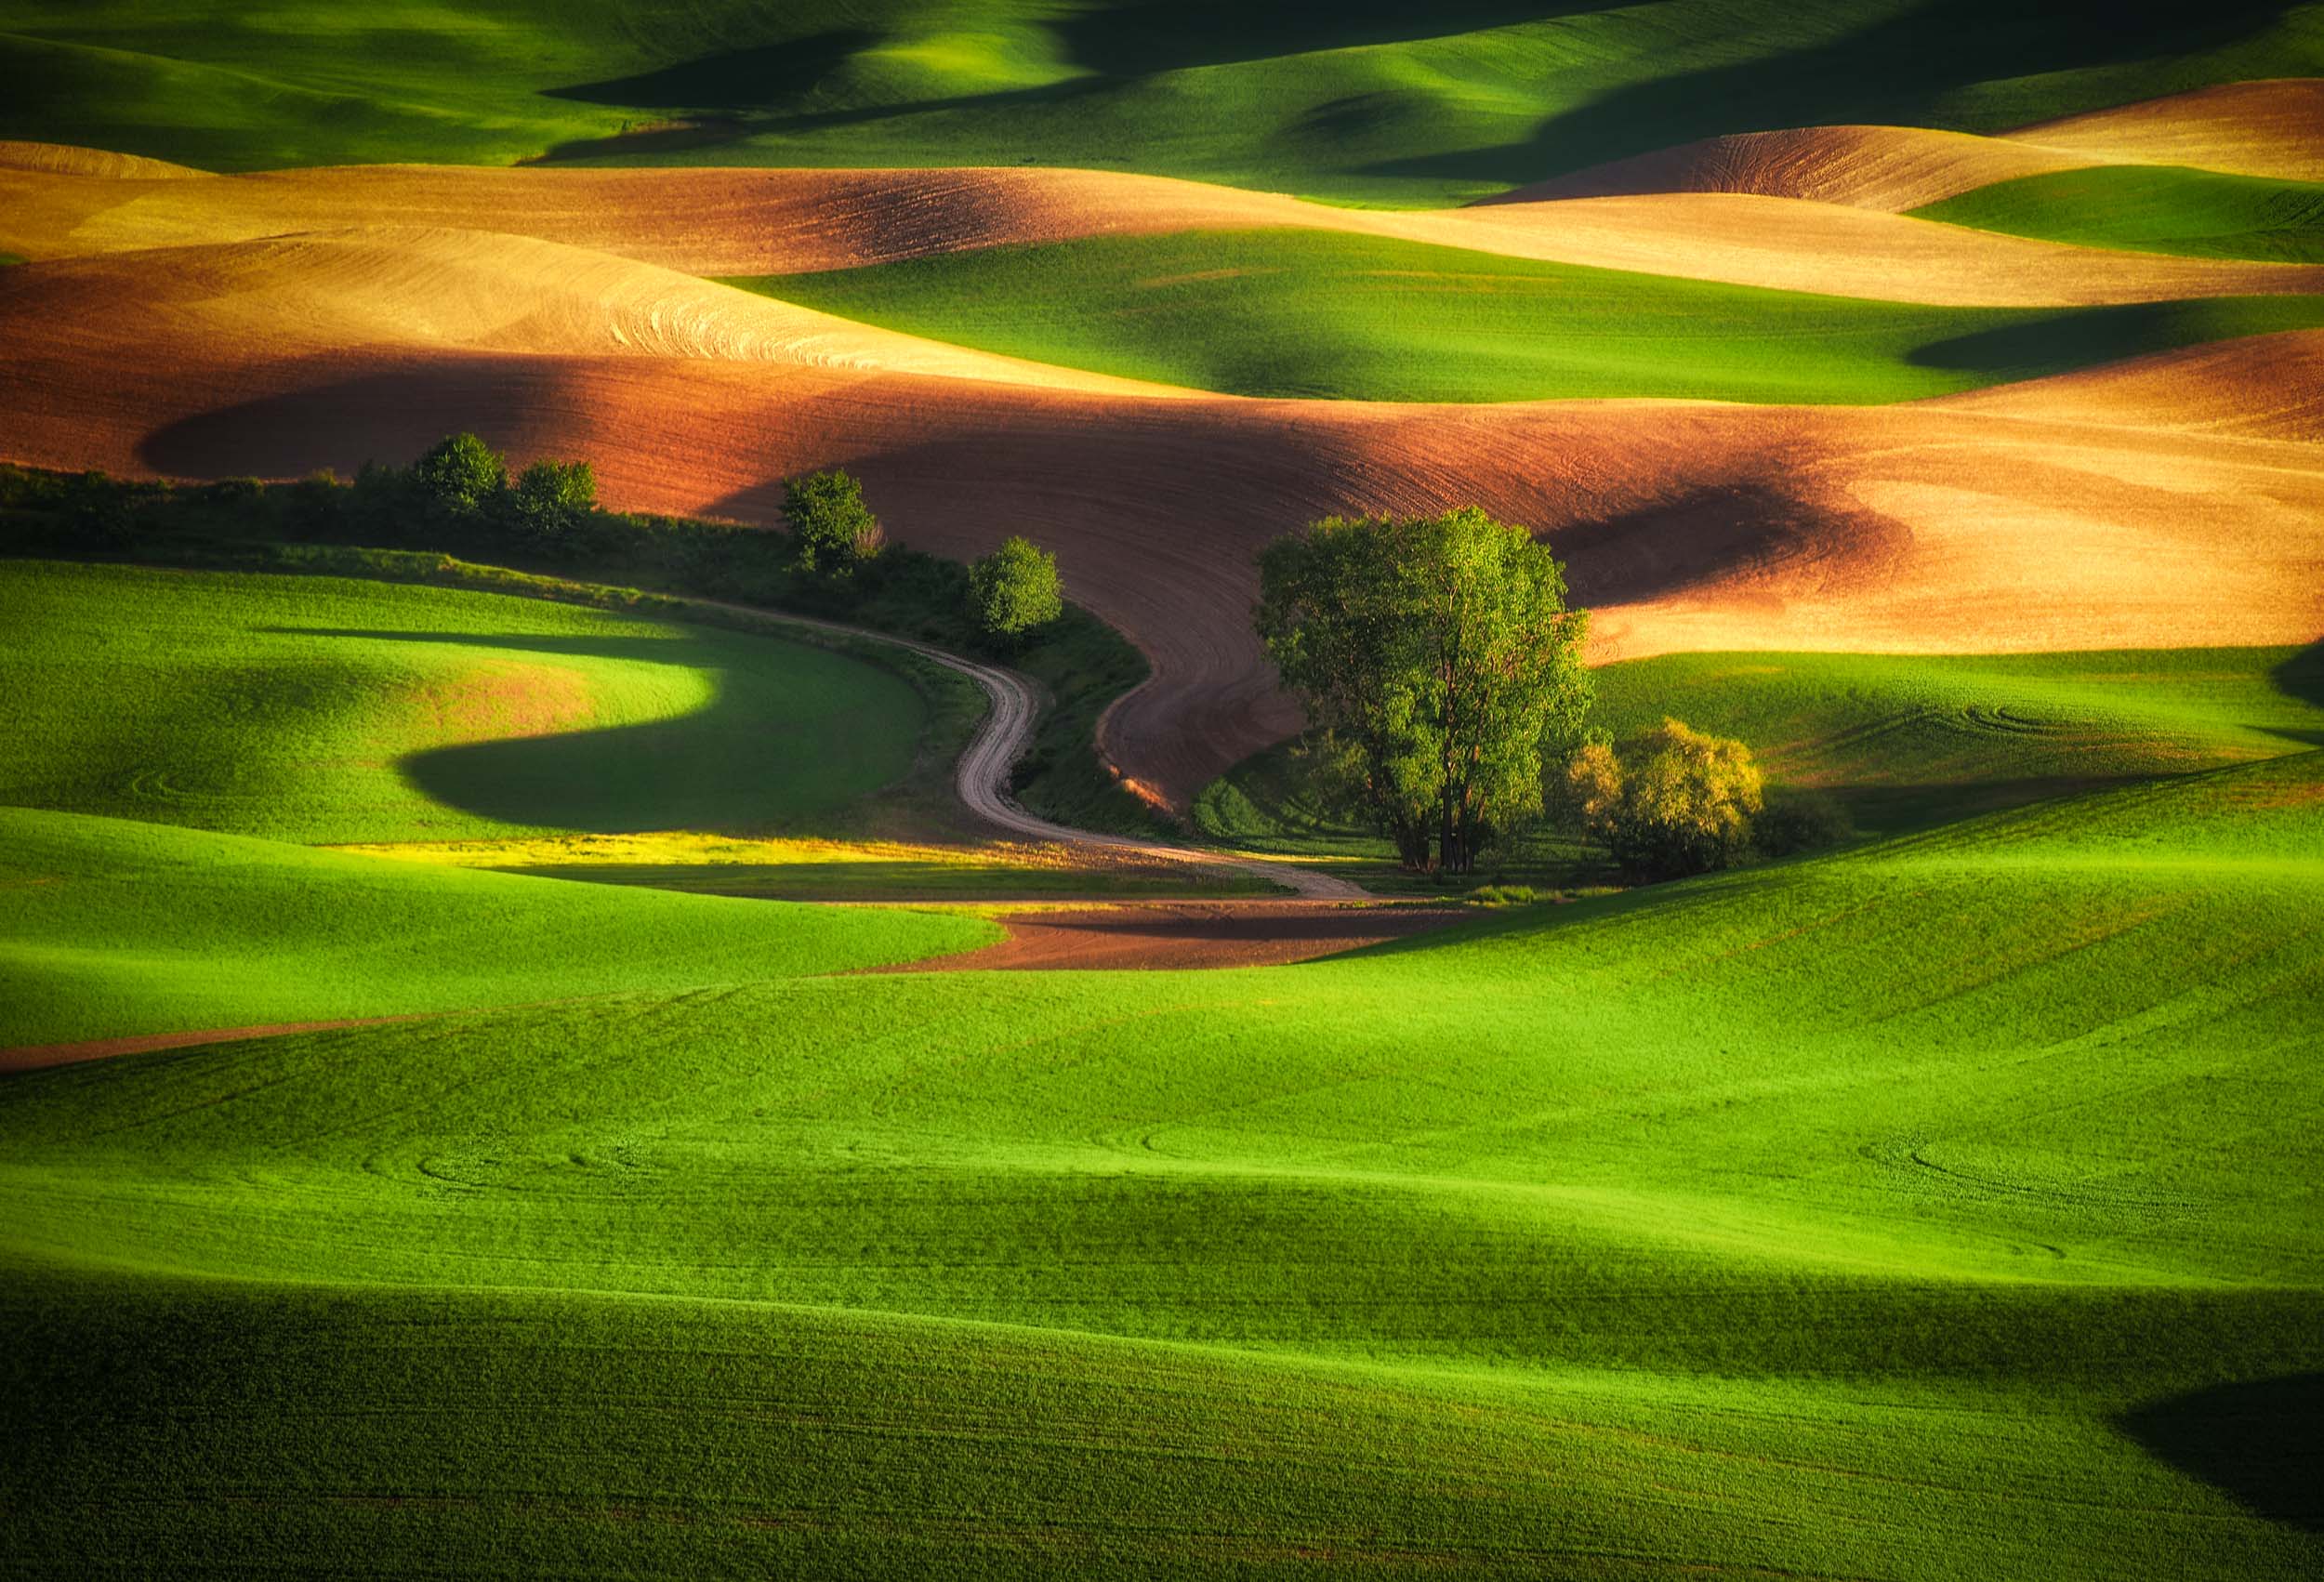
The Orton Effect in Lightroom & Photoshop

Oh the Orton Effect. Soft, dreamy and contrasty in all the right places. This little trick does more to a photo than any other adjustment. Its origins stem from the 80's where multiple photos were taken, overexposed, underexposed then slightly out of focus. Today we apply it to a single photo in under a minute with both Lightroom and Photoshop. Here's how:
LIGHTROOM VERSION
It's all about the brushes!
- Start with a brush set to +0.5 Exposure. Apply to the already bright areas.
- Dark brush set to -0.7 Exposure. Apply to dark or shadow areas.
- Saturated brush +45. Brush over the bright areas with a very soft (feathered) brush. Medium flow, medium density.
- Declarity/Unsharpen brush over most of the image.
- Clarity/Sharpen brush over anything with detail.
- Lastly, increase the overall contrast. Globally, not with a brush. I use the tone curve for the most natural results.
Yaaay, you're done. All without leaving Lightroom!! Congrats :)
PHOTOSHOP VERSION
- Do the usual processing in Lightroom and overexpose image by 2/3 stop.
- Load image into Photoshop.
- Duplicate layer (MAC Command+J) (PC Control+J)
- Filter > Blur > Gaussian Blur
- For 12-24 megapixel sensors choose 15px radius. 24-36 MP choose 22px radius.
- Go to blending mode where it says "Normal" (Just above your layers). Change to Multiply
- Change Opacity to your desired level. I use between 20-50%
- Highlight both layers and Merge Layers (MAC Command+E) (PC Control+E)
ADVANCED USERS
- Add layer mask to Orton layer and mask in/out your desired areas.
There you have it. 2 ways to use this dreamy effect :)
Jeff Walker