12 Tips for Natural Light Portraits
Many portrait photographers who also enjoy landscape photography will have this dilemma. Make the subject pop or accentuate the landscape? Here are my quick visual tips to achieve both!
There's no need for complicated Photoshop editing either, all photos here were edited in Lightroom with simple presets.
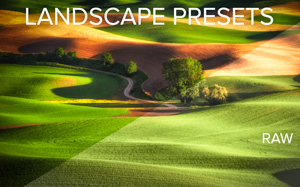
I've included my favourite Lightroom preset below as a bonus :)

LENS: 85mm shot at F1.8 Edited with SUNSET from the WEDDING & PORTRAIT PRESET COLLECTION

Lens Selection
I've personally used 5 lenses to get this look. I mostly use my 85mm prime on a full frame body. *Note: 50mm lens on a crop DX body is roughly the same focal length. Not only are these F1.8 lenses inexpensive, they produce the softest backgrounds of any lens I've ever used.

All photos edited with the SMART PORTRAIT PRESET SYSTEM for Lightroom
Camera Settings
I shoot in Aperture Priority, usually wide open. Between F1.8 and F4
ISO 100 or 200 for the most dynamic range and minimal noise. Maximum dynamic range is extremely important for sunset portraits and to simplify the editing later.
Shutter speed. I use the focal length rule. If I'm shooting 50mm. Stay above 1/50th. For active kids and doggies, 2x focal length is better (1/100th).
LOOKING FOR THAT SOFT, BLURRY BACKGROUND?
Setting your aperture to the widest setting is the easy part. F1.8-F2.8 is best for the ultra blurry foreground/background effect. However, if your kit lens only opens to F3.5, you can still easily achieve the same background effect!
You don't always have to shoot wide open (F1.8 or F2.8). The depth of field is so shallow, all eyes won't be in focus. I often shoot F4 with couples or "little brothers" to avoid this.

85mm. PEACH GLOW for F1.8 & CLEAN 2 for F4.
The further away your background is, the blurrier it will become. An aperture of F4 was used below. Because the river valley was so far away, I didn't need to use F1.8 on my 85mm lens.

CHEEKY Preset + stackable LIGHTEN SKIN 4 Preset
Light
Soft, cloudy light is your friend!
I can't stress how important proper light is. No matter how good your lens, working with the sun will dramatically improve the wow factor in your photography.
Clouds are your best tool, over any camera or lens. They're like a warm hug of light for your subjects face! This diffused light lowers the dynamic range of the scene, allowing the cameras sensor to accurately record the colours and skin tones. This also lets your bride and groom (or even doggy) open their eyes. No squinting here!

Looking away from harsh sunlight vs looking directly towards a cloud covered sun. Both edited with the same CLEAN 2 preset and no other changes.
*Tip from this photo above^. I always have a white towel in my bag for the bride or groom to sit on if needed.
"But I don't always have cloudy skies!"
When you're lacking clouds, you have 2 choices. Option 1: Place subject in the sun so it "wraps" around the face (like in the left photo above^). Studio photographers use this light-to-dark approach to illuminate their models.
Option 2: Find shade. Use a tree, building or natural structure to block the light. Even just 1 foot of shade can make a huge difference.

B&W LIGHT from the Smart Portrait Preset System
OK, you now have perfect shade, camera ready and are about to start snapping.
For the most vibrant colours, MAKE SURE THE SUN IS AT YOUR BACK. I hope this tip is your single biggest takeaway. In the image below you can easily see the difference in colour and contrast as I shot from both angles. Side note, isn't she cute?!!
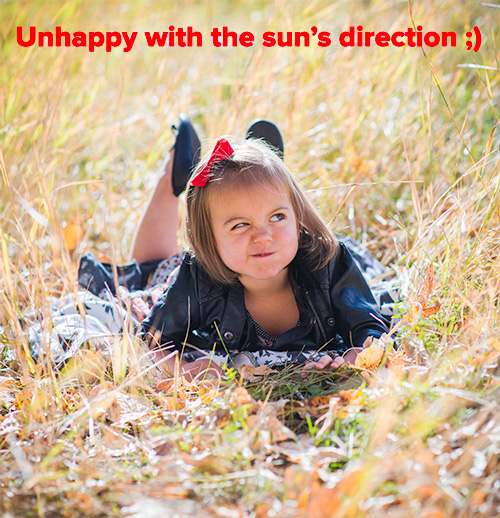
LUMINOUS + LIGHTEN SKIN 4 as her face was quite dark

LUMINOUS Preset
Perfect, you now have a great image! The hard part is finished. This is where portrait-specific editing comes in....

Edited with the RAINFOREST preset. It's FREE below :)
Editing - The fun part
Editing in Lightroom is really where the image comes to life! Lightroom adjustments make our so-so RAW files full of colour and emotion. If you're contemplating buying any of these "portrait" lenses, try the SMART PORTRAIT PRESETS out first, they might be all you need. Here's a free sample, which is one of my all time favourites.
Developing Portraits in Lightroom
(with a careful eye on skin tones)

A - Using the tone curve yields a more natural look with contrast.
B - Split toning is an easy way to change the feel, especially how warm the skin appears.
C - A quick way to brighten skin
D - Red and Green Primaries. This is the secret sauce to perfecting skin tones. Yes, even better than the Orange Luminance or Saturation sliders.
E - Custom brushes add drama to the background while sharpening eyes and correcting any selective issues.
*All 5 of these mentioned items are baked into the Smart Portrait Preset System :) Take a look!

Edited with PEACH GLOW then brushed on EASY EYES.
Quick Tips & Tricks
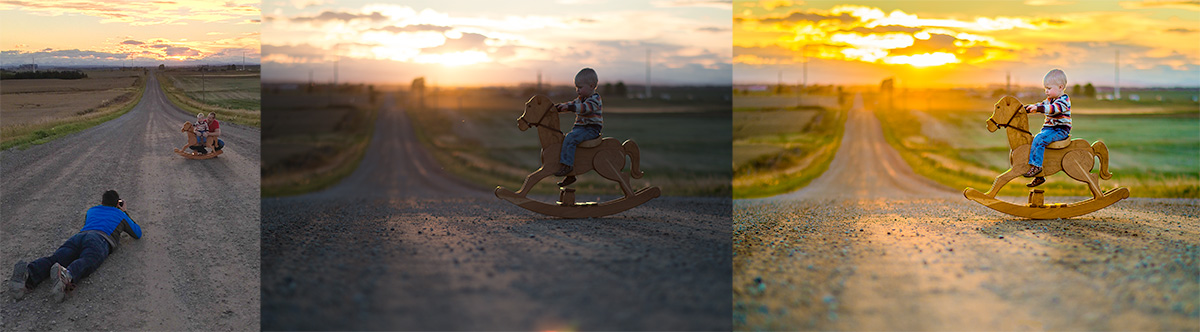
Get Low
Laying on the ground makes a huge difference. Especially with kids or doggies. It gives the subject a larger perspective as well as exaggerates the depth of field in your shot.
Crop on Prime Lenses
When baby is smiling, there's no time to readjust your position! A moderate cropping on a 50mm will easily get that 85mm look while a 85mm crop can look like a 135mm. 85mm-135mm is though of as the "holy grail" of portrait focal lengths.

85mm crop to approx 120mm
Tell a Story
Use leading lines to place your subject. Any path, road or natural lines work great. This immediately gives your image more of a story.

F8?
When I first purchased my 50mm, I only shot it at F1.8 for weeks as I loved the blurry background. Then one day, the landscape photographer side of my brain insisted on dialling in F8 to show the full scene, completely in focus.

Edited with RADIANT + EASY EYES brush
Preparation
Have the camera fully setup, settings perfect and a test shot confirming things are 100% before asking kids or puppy to look.
You can only call their name so many times before it wears off and you resort to bird calls and whistling for their attention (but really, who hasn't done this? ;)

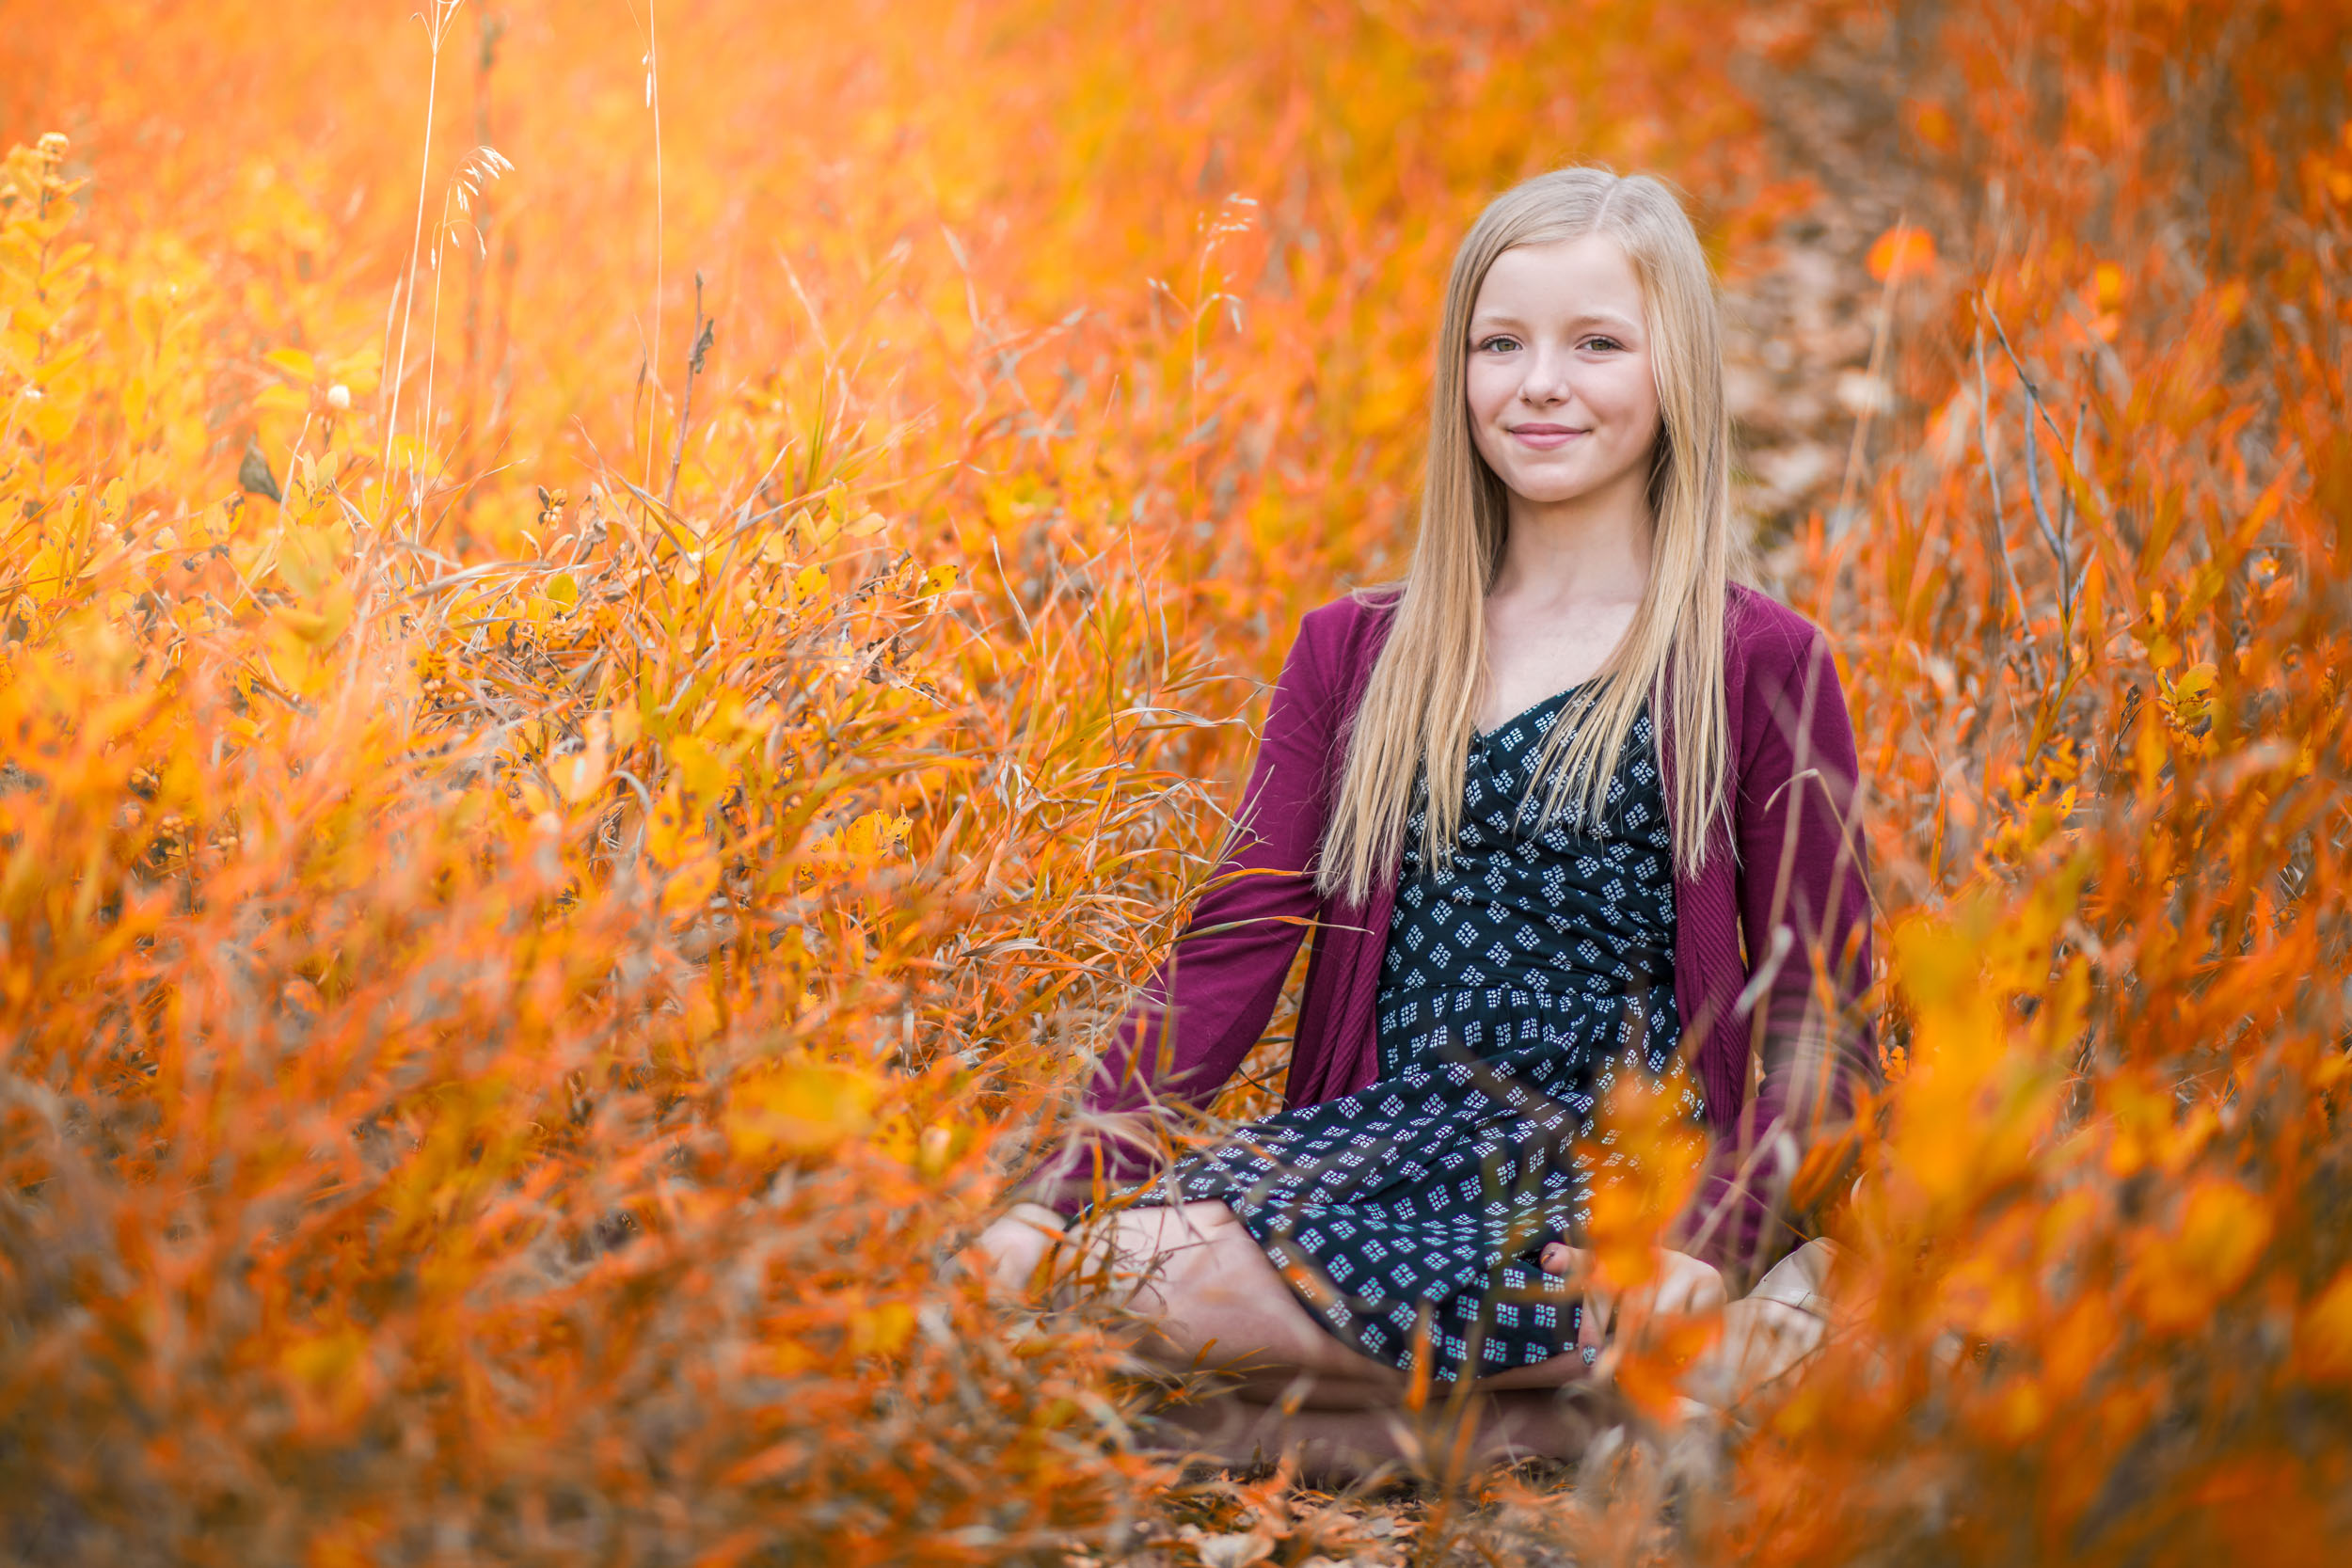
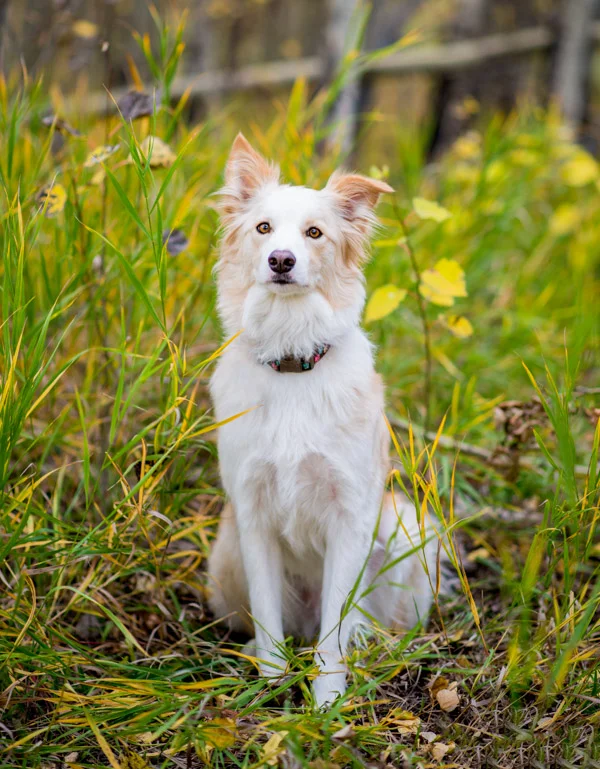
Foreground
Don't just blur the background. Frame your subject with something in the foreground for extra creativity points! Trees, flowers or anything else you find can make a composition more interesting.
Silhouette
Once the sun drops, compose a few silhouette's. Simple is usually better here. To shoot, stay in Aperture priority and dial in -3.0EV exposure compensation.

-3.0EV Exposure Compensation. CLEAN 1 Preset.
All presets used here can be found in the SMART PORTRAIT PRESET SYSTEM.
If you found this article helpful, forward it to another portrait photographer!
More tutorials coming shortly. Thanks for reading! Jeff