The Ultra Long Exposure Guide
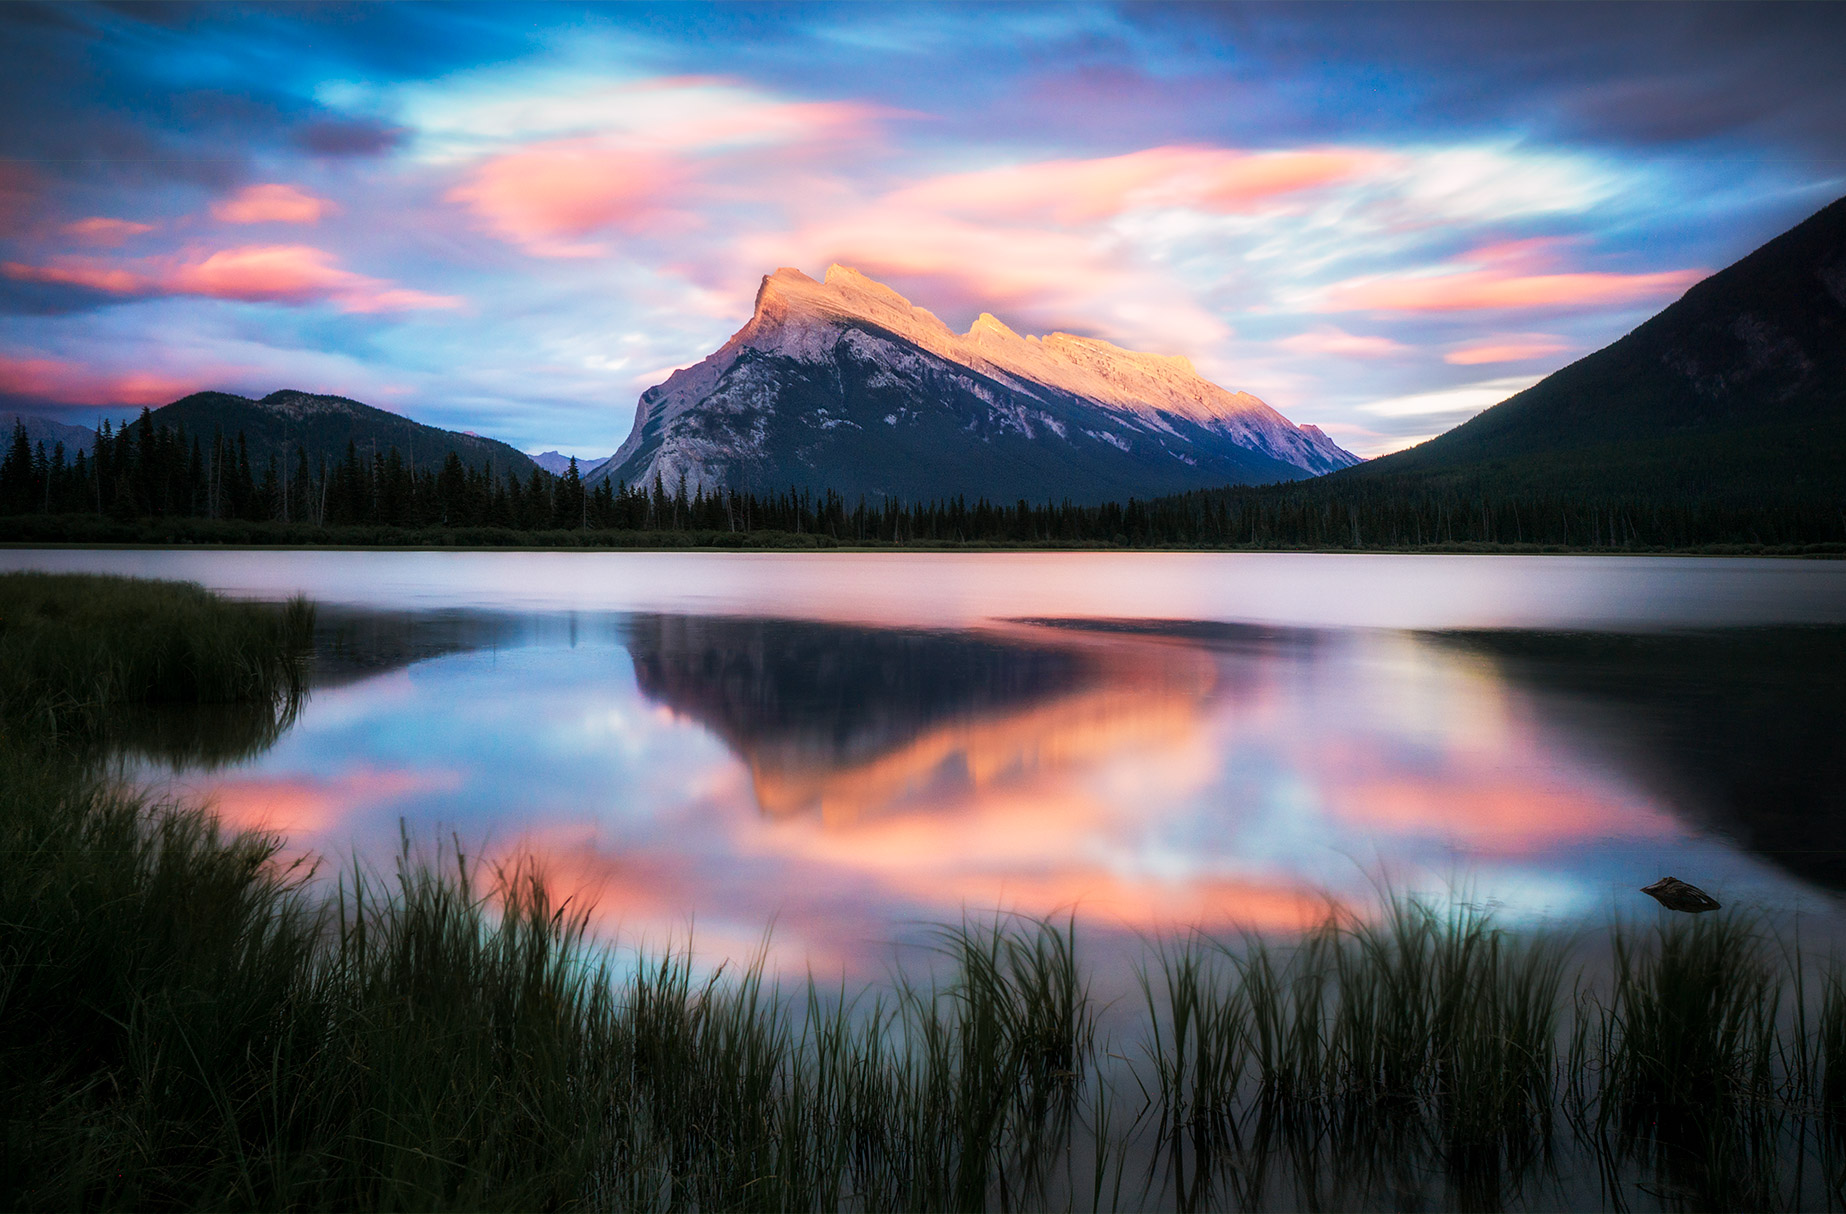
Soft flowing clouds, smooth water and a calming aesthetic. Long Exposure photography is my absolute favourite way to see the world!
But how are these images formed? Follow this step-by-step guide to shoot 1-8 minute exposures. I'll reveal my camera settings, special tricks and processing of these rewarding images. Also check out the LONG EXPOSURE PRESETS below, built specifically for reducing the extreme noise from excess sensor heat.
SONY A6000 with 10-18mm lens - F16 - ISO 100 - 302 Seconds. Processed in 4 clicks with the SMART LANDSCAPE PRESETS
Filters Used: 10 Stop ND & 2-Stop Soft Grad


Equipment I use

LEE 10 Stop ND in Seven5 Holder & Sony Vello IR Remote
Tripod. Any type will do, as long as it stays still for several minutes.
IR remote or remote shutter cable.
LEE 10 or 15 stop Neutral Density (ND filter).
Optional: Graduated filter. I sometimes use the 2-stop soft grad during sunrise/sunset.
Quick Filter Advice
-If wanting 30 second exposures to smooth out water in the day, pick a 10 stop filter.
-If wanting longer 5 minute exposures during sunset, pick a 10 stop + 2 or 3 stop graduated ND filter.
-If wanting 5 minute exposures during daytime (like below), pick a 15 stop.

SONY A6000 with 16-35mm lens - F22 - ISO 100 - 258 Seconds. 15 stop ND filter used. Processed in 3 clicks with the SMART LANDSCAPE PRESETS
Camera Settings
1. Set ISO to 100 or lowest possible.
2. Find your regular exposure in A or M mode. Aperture F16-F22 if using 10-stop ND, F8 if using 15-stop ND.
Remember aperture and shutter speed values.
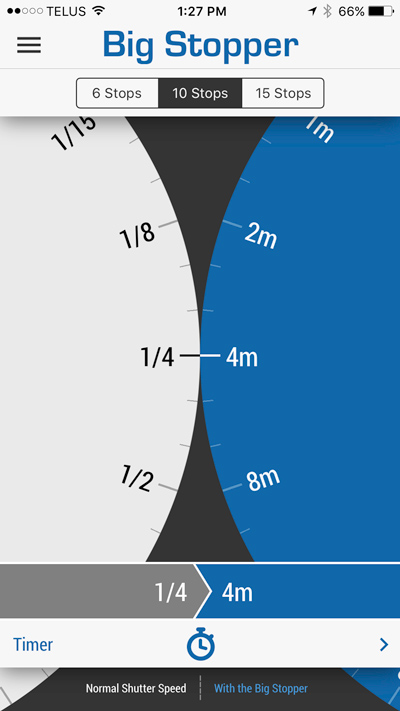
3. Use calculator app or conversion table to find new shutter speed.
4. Now in manual mode, scroll past 30" to find BULB.
5. If using autofocus, get your focus then switch to manual focus.
6. Install ND filter
7. You’re in manual focus right? Awesome, now hit the shutter, start the countdown timer and watch the clouds roll by! Let the shutter go when your calculated time has elapsed.
Now review your image and make minor adjustments. It will usually be too dark. Either extend your exposure time or lower aperture number for a brighter image. Remember, going from F22>F16 will double the brightness of your exposure.
I'd give you a high five if I was there with you. I remember seeing the very first ultra long exposure display on the screen of my D800 after 6 minutes. So rewarding!!
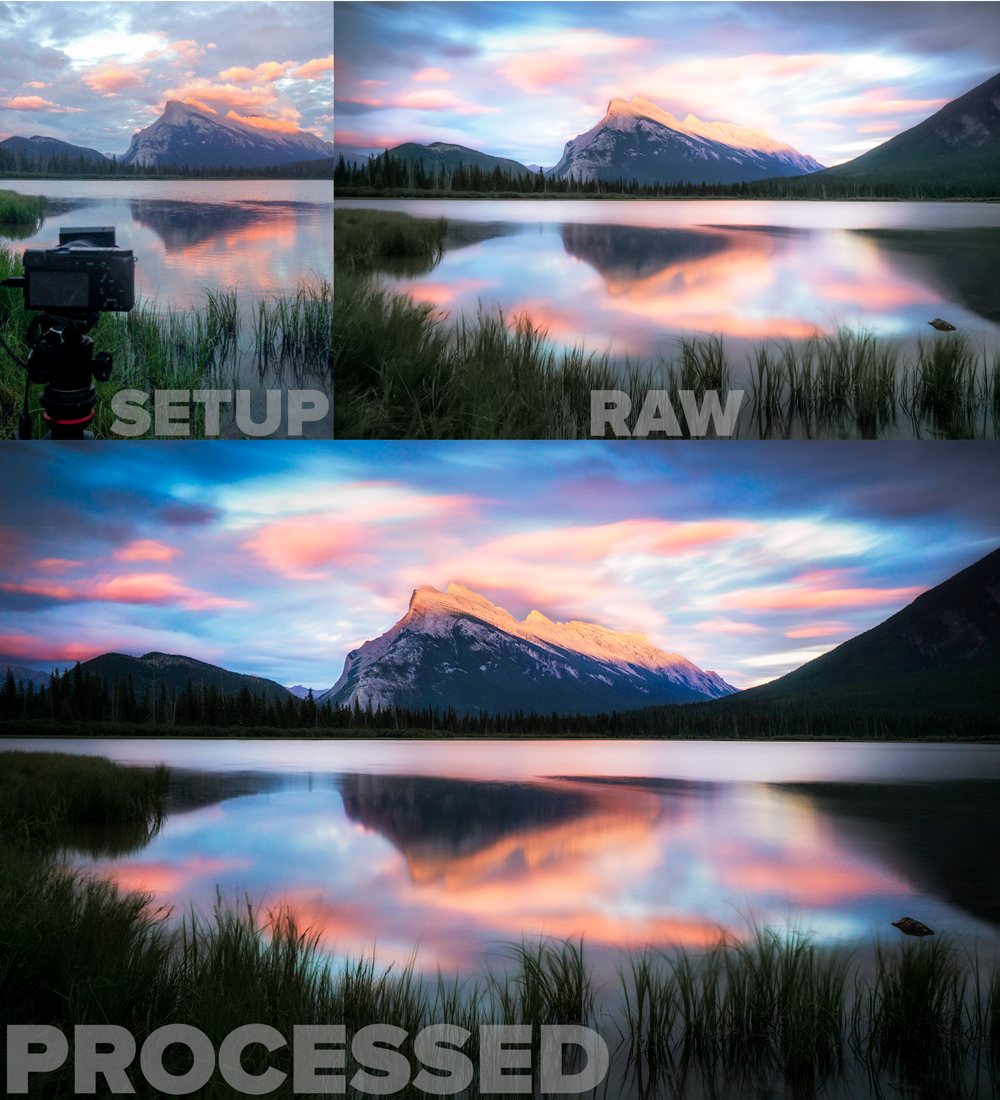
The hard part is now over! The quick, easy and most rewarding part is now here….Bringing your image to life in Lightroom!

SONY A6000 with 10-18mm lens - F16 - ISO 100 - 272 Seconds. 15-stop ND filter used. Processed in 3 clicks with the SMART LANDSCAPE PRESETS
How I Edited My Most Profitable Image
Quick Tips
1. If using a DSLR, cover the eyepiece. Electrical tape or a hat will also do the job. If you forget, this will be the result:

2. Secure remote cable from moving in the wind. I Velcro mine to the tripod.
3. I use the LEE Filters app for shutter speed conversion and the countdown timer:
iPhone App Link Android App Link
4. If using a graduated filter, install it first to align horizon, then install ND filter.
5. Turn off "Long Exposure Noise Reduction' in your settings.
5. The fading light of sunset can be tricky! Especially with 5 minute exposures. Remember to add 1-2 minutes of exposure time for each additional shot taken (+20% from previous time). Subtract time for sunrise.
Why ISO100 (or base iso)?
1. This helps extend the exposure as long as possible.
2. ISO100 has the lowest amount of grain/noise.
3. Most important, this is where your cameras highest dynamic range is.

3 Potential Problems with Long Exposures
(and how to fix them :)
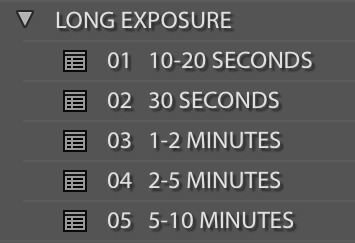
So much noise!
Long exposures can become quite grainy/noisy, especially after 60 seconds of exposure time. This is a byproduct of built up sensor heat. Thankfully this is where Lightroom comes to the rescue once again! I could write for days about the misuse of noise reduction. High ISO noise is different from Long Exposure noise. But to keep it short, I've developed the LONG EXPOSURE PRESETS exactly for this reason. For $5 you get the perfect amount of noise reduction to apply on your long exposures. There are 5 presets included, plus a coupon code for the full Stackable Landscape Preset System.
Fixing ND colour casts

This is a very easy but often overlooked part of the editing process. Correct your white balance before editing. The longer exposure time exaggerates the colour cast (slight orange or blue) in the image. My B+W filter is too warm and needed cooling down while my LEE filters are too cool and need a small bump of warmth. Just slide the ORANGE/BLUE white balance slider in Lightroom until it looks right. Then proceed to your regular editing.
LENS REFLECTIONS
I would only try this, IF you experience any reflective numbers on your images. All lenses are different. This reflection only happens when shooting straight into the sun, on rare circumstances. It's one of the negatives about the LEE system. Black electrical tape or non-permanent marker have been my solutions.

MORE EXAMPLES

SONY A6000 with 10-18mm lens - F22 - ISO 100 - 614 Seconds. Processed in 3 clicks with the SMART LANDSCAPE PRESETS

Sneakily triggering the camera with my IR remote.

Side benefit of a long exposure is how well it smooths out choppy water!